Cable wine racks have become a popular choice for wine enthusiasts who want to combine functionality with a modern and visually striking design. If you’re eager to showcase your wine collection uniquely, this step-by-step guide for cable wine system installation will walk you through the process of installing a cable wine rack. Get ready to uncork your creativity and elevate your wine storage experience!
Materials Needed:
Cable Wine Rack Kit: Ensure you have a complete kit, including cables, mounting brackets, and any necessary hardware.
Power Drill and Drill Bits:
Select drill bits based on the type of wall you’re mounting the cable wine rack on.
Level:
A level is crucial to ensure that your cable wine rack is installed evenly and straight.
Screwdriver:
Depending on the kit, you may need a screwdriver for certain parts of the installation.
Measuring Tape:
Measure and mark the locations for mounting brackets accurately.
Pencil:
Use a pencil to mark the spots where you’ll be drilling.
Installation Steps:
Choose the Location:
Select a suitable location for your cable wine rack. Consider factors such as wall strength, visibility, and accessibility.
Measure and Mark:
Use a measuring tape and pencil to mark the positions where you’ll install the mounting brackets. Ensure the marks are level and evenly spaced.
Pre-Drill Holes:
With the appropriate drill bit, pre-drill holes at the marked positions. Be mindful of the type of wall (drywall, plaster, concrete) and use suitable anchors or screws.
Attach Mounting Brackets:
Secure the mounting brackets to the wall using the pre-drilled holes. Make sure they are tightly fastened.
Thread the Cables:
Follow the instructions provided with your cable wine rack kit to thread the cables through the designated holes in the mounting brackets. This step may involve tensioning the cables for stability.
Secure Wine Holders:
Depending on the design, attach the wine holders to the cables. Ensure they are evenly spaced and properly secured.
Adjust and Level:
Use a level to make any necessary adjustments. Ensure that the wine rack is level and aligned according to your preferences.
Final Check:
Double-check all the screws, cables, and holders to ensure everything is secure and stable.
Admire Your Creation:
Once the installation is complete, step back and admire your cable wine rack masterpiece. Arrange your wine bottles creatively, and enjoy the unique display.
Conclusion:
Cable Wine System Installation is a rewarding project that adds a touch of contemporary elegance to your home. By following these step-by-step instructions, you can confidently create a stunning display for your wine collection, turning your space into a showcase of both form and function. Cheers to a stylish and inventive approach to wine storage!
Leave a Reply
Unveils An Exquisite Collection Of
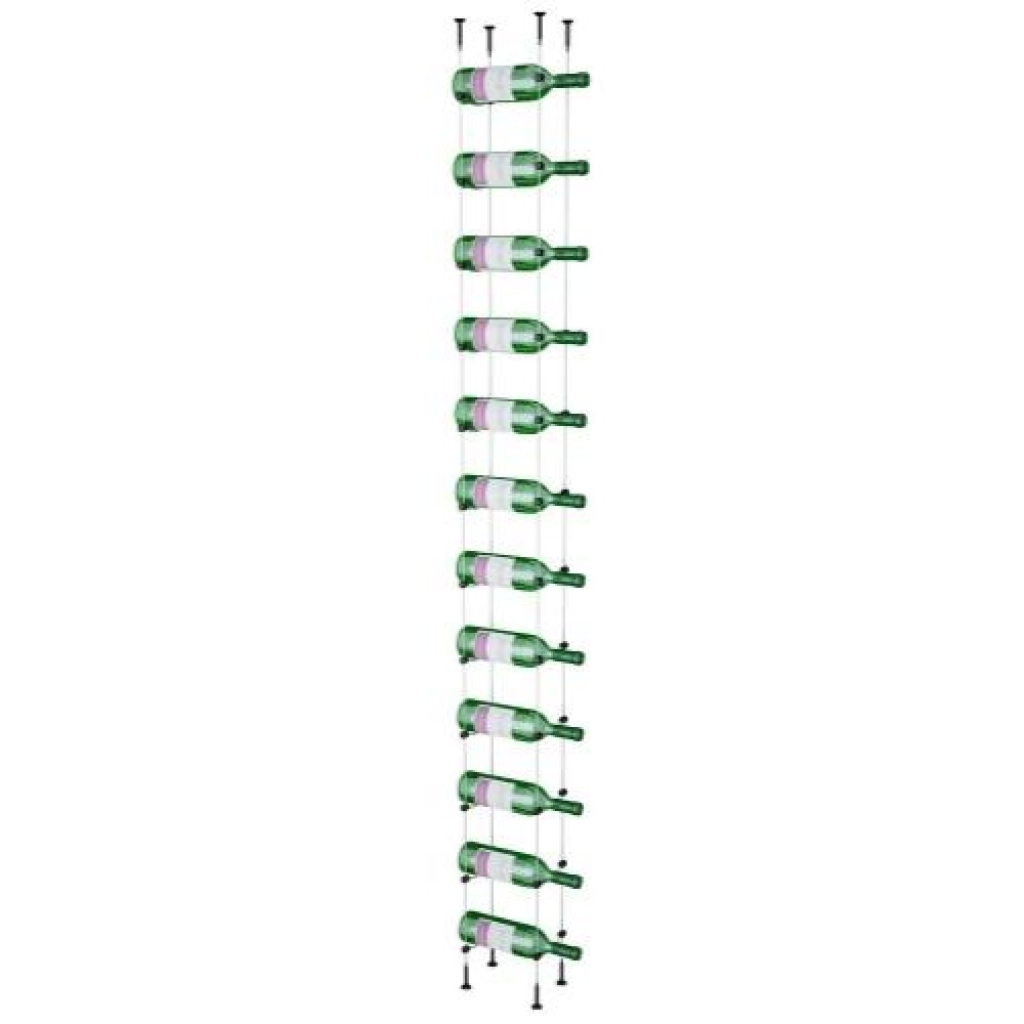
Cable Wine Racks