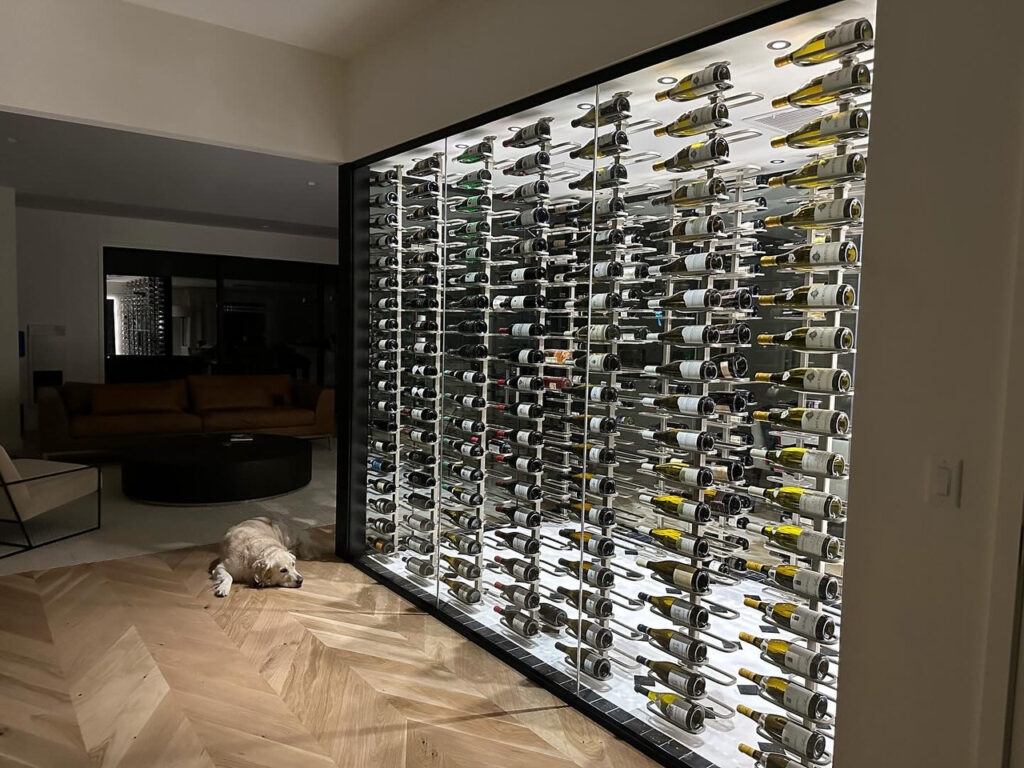
To measure your space for a wine cellar, start by calculating the cubic footage of the room, accounting for all dimensions. Next, evaluate your desired bottle capacity, the purpose of the space, and the specific rack dimensions to plan for layout and clearance.
Step 1: Measure The Room’s Total Dimensions
Before you can determine the cooling requirements, you need to find the total cubic area of the space you plan to convert into a wine cellar.
Calculate cubic footage: Measure the length, width, and height of the room in feet. Multiply these three numbers together:
- Length (ft) × Width (ft) × Height (ft) = Cubic Footage.
Consider irregular spaces: For spaces with unusual shapes, break the area into multiple sections, calculate the cubic footage of each section, and then add them together.
Step 2: Determine Your Wine Bottle Storage Needs
Your current collection and future growth projections will determine how much space is needed for your wine racks.
Inventory your collection: Count the number of wine bottles you own now, noting any non-standard sizes like Magnums or Champagne bottles.
Estimate future growth: Plan for a collection that is at least 25% larger than your current one to allow for future purchases.
Follow capacity rules of thumb:
- A 25-square-foot cellar with 9-foot ceilings can hold about 500 bottles.
- For every 500 additional bottles, add roughly 50 square feet.
- If using wall-to-wall racks, a good estimate is 10 to 15 bottles per square foot.
Consider the weight: A large collection can put a significant load on your home’s structure. At about 3 pounds per bottle, a 1,000-bottle cellar could weigh over a literal ton, so basement installation is often recommended.
Step 3: Account For Wine Racking Dimensions
Wine racking comes in a variety of styles, and each has different space requirements.
- Standard wine racking: A wine rack that fully supports a standard 750ml bottle (12 inches long) typically needs a depth of at least 14.5 inches.
- Clearance: When measuring for racks, subtract 1–2 inches from the total wall space for clearance and accessibility.
- Specialty racks: If you have larger bottles, you will need to adjust your measurements. For instance, rack openings might need to be 4 inches wide instead of the standard 3.2–3.5 inches.
- Double-deep racking: Consider double-deep options if you have a vast collection and want to maximize bottle density in a smaller footprint.
- Walkways and access: If your cellar will be a walk-in space, be sure to plan for adequate clearance in front of racks and doors—a minimum of 3 feet is recommended for doors.
Step 4: Plan for cooling and insulation
A wine cellar is only as effective as its climate control. Your measurements will inform the type of cooling system needed.
- Foam Insulation: Account for the insulation thickness, especially in exterior walls, when measuring for racking. Your walls will need a vapor barrier and ample insulation (R-19 minimum for interior walls, higher for exterior).
- Heat load calculation: Use your cubic footage and insulation measurements in an online heat load calculator from a cooling system manufacturer. This will help you select a unit with the correct BTU capacity.
- Heat sources: Identify and account for heat sources such as lighting (use low-voltage track lighting) or glass walls, as these will affect the cooling load.
Step 5: Wine Cellar Design Consultation
You should talk with wine storage experts and get a wine cellar design consultation. The wine experts will guide you on how to prepare your wine room for wine storage, what type of wine racks you can choose from, which wine cooling system will work best for your space. You can call Cool Wine Cellar at 800-323-3130 or email us at [email protected] to get a free wine cellar design and consultation.