Building a custom wine cellar is one of the most exciting home improvement projects a collector can undertake. It’s the perfect blend of high-end engineering and personal aesthetic. However, because it requires precise climate control, it’s not your average “DIY” room renovation.
To ensure your collection ages gracefully, here is the professional roadmap for planning a custom wine cellar, from the first spark of inspiration to the final bottle being shelved.
Every great cellar begins with a conversation. In this initial phase, you’ll meet with a specialist—like the pros at CoolWineCellar.com—to define your goals.
Capacity: How many bottles do you have now, and how many do you plan to have in 10 years?
Location: Are you converting a walk-in closet, an under-stairs nook, or a dedicated basement room?
Aesthetic: Do you prefer “Old World” charm with reclaimed wood, or a “Modern Minimalist” look with glass and metal?
Once the goals are set, the design team creates a blueprint. In 2026, top-tier contractors use 3D CAD (Computer-Aided Design) to show you exactly how the cellar will look in your space. This is the time to decide on:
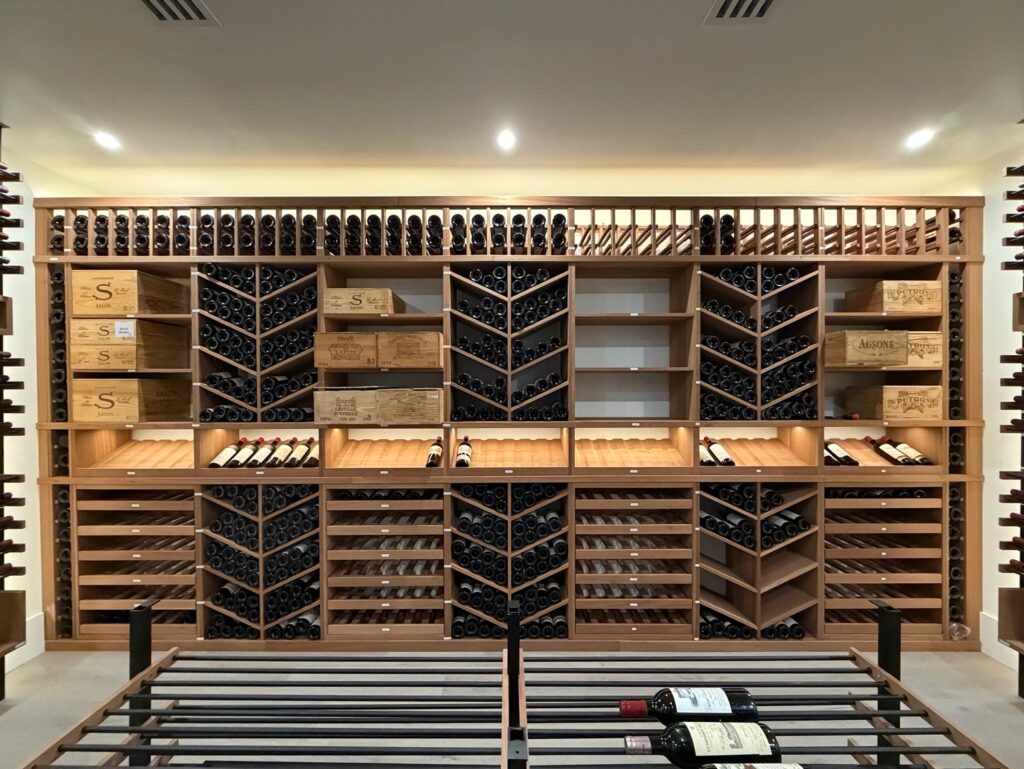
Racking Styles: Label-forward (modern) vs. cork-forward (traditional).
Feature Walls: Adding a tasting table, a humidor, or LED-backlit onyx panels.
This is the most critical step that many homeowners overlook. A wine cellar is essentially a high-tech “envelope” that must be sealed off from the rest of the house.
Vapor Barrier & Insulation: Using closed-cell spray foam or rigid foam board to prevent moisture from ruining your drywall.
Electrical & Plumbing: Running dedicated lines for the cooling system and drainage for the condensate.
Unlike a standard AC unit, a wine cellar cooling system is designed to maintain a constant 55°F (13°C) and 60–70% humidity.
System Choice: Depending on your space, you’ll install a Through-the-Wall, Ducted, or Split System.
The Cool Wine Cellar Advantage: Experts like those at Cool Wine Cellar perform a “Heat Load Calculation” to ensure your unit is powerful enough for your specific room dimensions and glass exposure.
With the “guts” of the room finished, the fun part begins. The custom cabinetry and racking are installed, followed by UV-free LED lighting that won’t “light-strike” your wine.
The Finishing Touches: Installing the thermal-paned glass doors and sealing the room.
Stocking the Cellar: Once the temperature has stabilized for 48–72 hours, it’s time to move your collection into its new home.
Planning a cellar involves complex thermodynamics. Working with a dedicated contractor like Cool Wine Cellar ensures that your investment is protected by master-level craftsmanship and industry-leading cooling technology.